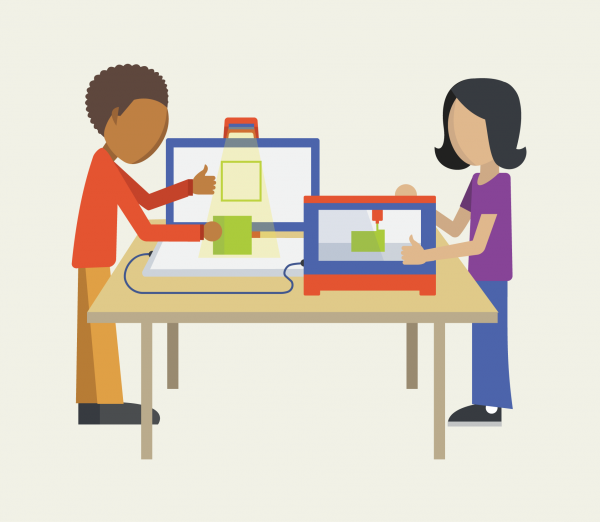
Tools/Materials Required: Computer, 3D printer
Depth of Knowledge: Skills and Concepts
Teacher’s notes are in purple. For the student’s version, see Custom Cookie Cutter Student Guide. For the student’s version in Spanish, see Cortador de Gallatas Personalizado.
CAD stands for computer aided design. It is a tool for creating virtual models of 3-dimensional objects. The big idea that makes all CAD software work is that by intersecting simple geometric shapes you can make any object you can imagine. It’s a simple idea, but figuring out how to make complicated objects out of simple ones can be challenging.
We will use TinkerCAD to design this 3D model – create a TinkerCAD account if you don’t have one. Students can also use existing logins (Microsoft, Google) by clicking the “more providers” link in the sign in window in TinkerCAD. Watch this video to learn about navigating and using TinkerCAD. Practice using the tools by completing the “TinkerCAD Basics” tutorials. After you have learned the TinkerCAD interface, you can make virtual models of a game die and a ring. for practice. Lastly you will make a customized ring that can be printed on the 3D printer.
Watch this video to learn how a 3D printer works.
Follow the TinkerCAD Basics lessons – complete the first five tutorials in sequence. Stop when you have finished the tutorial called “Key Ring, Letters!”
Follow additional tutorials for modeling game playing pieces — try a chess pawn and a game die — to get comfortable with the TinkerCAD interface.
Make a ghost shaped cookie cutter by following this detailed tutorial.
Make your own cookie cutter – choose a design that you like and think that you will be able to model. Anything goes!
Remember what you learned in your practice making the ghost-shaped cookie cutter: In order to keep the outline a consistent thickness when working with a complex shape it is not enough to duplicate and shrink the shape to create the hole, because the shape will be distorted and not line up correctly.
Sometimes the best way for a student to really understand the above note is to allow them to try it the wrong way first to see why it does not work well. Overcoming this challenge by creating new shapes to cut the interior is also the most challenging part when students design their own cookie cutters – be prepared to offer support for this.
When you finish your model, select “Download for 3D Printing” from the “Design” menu.
Download as a .STL file. Show it to your teacher and get permission to print your cookie cutter.
Important note: 3D printed material is not dishwasher safe. They can also be difficult to clean because of the space in between the printed layers. For that reason, it is recommended that you only use the cookie cutters once.
Produced by Digital Promise Global, with thanks to the Open Educational Resources listed throughout this guide. Distributed to Learning Studios schools as part of HP, Inc. and Microsoft’s Reinvent the Classroom.
This work is licensed under a Creative Commons Attribution-ShareAlike 4.0 International License. You may share this project or modified versions of it under this same license.