Tools/Materials Required: Pencil and paper; Materials as needed for building (optional); Laptop or other device to record (optional)
Depth of Knowledge: Strategic Thinking
Teacher’s notes are in purple. For the student’s version, see Backpack Project Student Guide.
This activity is grounded in the idea of designing for a specific user and can be a great introduction to human-centered design methodologies. This method is defined by the following five steps:
Empathize ~ Define ~ Ideate ~ Prototype~ Test
What do these terms mean? How do they apply to designing something for someone? Why is the user important and how is that reflected in this routine?
In this activity, you will go through all the steps of the design thinking process to create something useful and meaningful for a peer. You will start at the empathize stage by uncovering insights about your peer. You will then define a problem statement, ideate possible solutions, prototype your solution, and test it with your peer.
Watch these one-minute videos on empathy and embracing ambiguity from the IDEO Design Kit. How might empathy and embracing ambiguity be useful in this activity?
Try a thinking routine, such as Think, Feel, Care or Parts, Perspectives, Me to explore others’ points of view as well as your own perspective on an object or system.
Practice conducting an interview using What Makes You Happy?
Practice designing for a user in Five Chairs.
Deconstruct a backpack to understand its Parts, Purposes, and Complexities (and add it to your Museum of the Mundane).
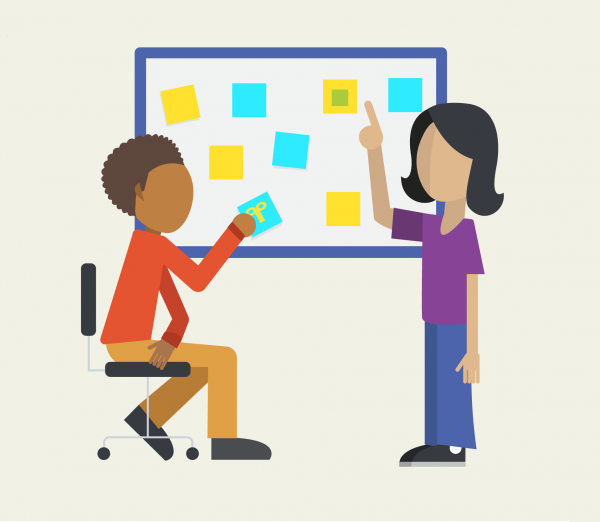
The goal of this activity is to design something useful and meaningful for your peer. Pair up with a partner and take turns completing each step below:
Step One: First interview
Ask your partner to introduce themselves to you by walking you through the contents of their backpack. Ask questions and record your observations and insights.
Step Two: Get beneath the surface
Go deeper. Find out more about your partner. Forget about the backpack and dig for specific stories from your partner. Record your observations and insights. Is there anything that surprises you? Emphasize to students that the conversation should not be about the backpack, but rather about the person they are interviewing. They should move beyond discussing the backpack and functionality.
Step Three: Articulate your point of view
Using the insights gained from the interview, make a short list of what you understand your partner is trying to do. Make another short list of the way your partner wants to feel.
Step Four: Create a problem statement
Fill in the blanks: [Insert partner name] needs a way to [insert what the partner is trying to do] in a way that makes them feel [insert the way your partner wants to feel]. Feel free to write multiple problem statements until you land on the one that resonates the most.
Step Five: Generate alternatives to test
Using the problem statement you created in step four, write out or sketch 3-7 radical ways to meet your user’s needs. Encourage students to come up with bold ideas at this step.
Step Six: Get feedback from your partner
Share the ideas you created in step five with your partner and ask for their feedback. Take note of their responses.
Step Seven: Synthesize what you’ve learned
Write down a list of new things you have learned about your partner and their needs. Then, create a list of new things you have learned about the solutions you suggested and your approach to meeting your partner’s needs.
Step Eight: Redefine your problem statement
Using the insights you learned from your partner’s feedback, redefine the statement you made in step four:
Fill in the blanks: [Insert partner name] needs a way to [insert what the partner is trying to do] in a way that makes them feel [insert the way your partner wants to feel]. Feel free to write multiple problem statements until you land on the one that resonates the most.
Step Nine: Create a new solution
Using your new problem statement, write out or sketch a new idea to meet your partner’s needs.
Step Ten: Build your solution
Build or sketch a solution that your partner can interact with. Let students choose if they want to build something or if they would rather sketch out a design for their partner. This step sets up an opportunity where the designer can get authentic feedback from the user, so encourage students to either build or sketch something with which their user can interact. A student might not need to build a whole new backpack, but may find that they can approximate a solution by creating an inserted compartment out of cardboard or making a simple prototype of a new strap design using duct tape.
Step Eleven: Get feedback from your partner
Whether you built a solution or sketched an idea, share it with your partner. Get their feedback to learn what about the solution works for them, what doesn’t work for them, any questions they may have about the solution, and any additional ideas they may have.
Step Twelve: Reflect
This project is adapted from An Introduction to Design Thinking: Wallet Project, Stanford d.School K12 Lab Wiki.
Produced by Digital Promise Global, with thanks to the Open Educational Resources listed throughout this guide. Distributed to Learning Studios schools as part of HP, Inc. and Microsoft’s Reinvent the Classroom.
This work is licensed under a Creative Commons Attribution-ShareAlike 4.0 International License. You may share this project or modified versions of it under this same license.