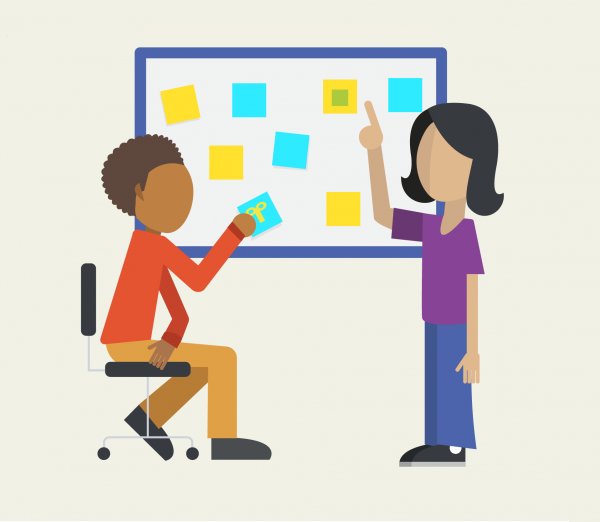
Cinco Sillas – Digital Promise

Cinco Sillas

Cinco Sillas

Prepare yourself: Learn about the important ideas in this project

This activity is based on the idea of ​​designing for a specific user and is a good introduction to the methodologies of human-centered design. This method consists of five steps:

Empathize * Define * Devise * Prototype * Test

What do these words mean? How do they apply to the process of designing something for someone? Why does the user matter so much and how is that reflected in this routine?

It is also important to understand that this is not a process, but a routine of thought. What is the difference between these ideas? How do you apply a routine to your work differently from a process?

This video shows the application of this routine by a design team at IDEO, the company that developed the concept of human-centered design. What other aspects of their problem solving and product design process do you find interesting?


Practice: Try all the practice activities you would like to build

Practice:Parts, Purposes, Complexities ” – To practice, use the thinking routine in this project to examine a chair in your home or classroom.

Practice: Complete the “Project Make a Paper Boat ” ( Make a paper boat ) to learn and practice using the “Sprout and capture stage” to scan 3D and using the “MeshMixer” to arrange and edit your scanned models.

Practice: Presentation slides are “media at a glance,” and well-composed slides have many elements in common with billboards.

Read this article on using billboards as guides to designing good presentations , and design your own billboard for something you’ve done in the “Learning Studio”. Use the “Sketchbook” or “Collage” software in the “Sprout Workspace” or use a PowerPoint slide to design your billboard.


Produce: Explore the project and make it yours

Part 1: Identify Design Principles

  1. Divide into 5 groups. Each group should have a “ Story Card
  2. Define 2 specific user requirements to incorporate into the design of the chair (these are called “design principles”).
  3. Each group shares the design principles for their chair with the whole class.

Part 2: Quick Iteration – Draw your own chair (individually) – Incorporate the 2 design principles that you identified in Part 1. The third principle is that your design should reflect your own style.

  1. Share drawings within the group and develop a new version that includes the best elements of the individual designs.
  2. Use modeling clay to build a model of the group’s design.
  3. Share the models among the groups and offer criticism and advice. Discuss in your group how you could incorporate the ideas of other groups into your design.
  4. Use whatever material is available to build another group model (improving on the first one).

Part 3: Digitize and Present

  1. Hagan un scan en 3D de su modelo usando el “HP Sprout and Capture Stage.” Si no pudieron capturar todos los aspectos de su diseño con la arcilla, podrían usar MeshMixer or TinkerCAD para modificar su modelo digital.
  2. Preparen una presentación de aproximadamente 3 minutos (no más). Deben incluir información sobre su usuario, describir sus principios de diseño, y mostrar y describir el diseño de su silla y las decisiones que tomaron en el processo de diseño. Piensen en maneras de MOSTRAR sus ideas en vez de contarlas. Preparen una presentación visualmente atractiva e informativa. Lean abajo para unas ideas para la presentación:
    • Usen Sway o Powerpoint para crear una presentación visualmente atractiva – destaquen imágenes en vez de texto. Escriban un guión para ayudarles con la presentación.
    •  Hagan un video que muestra tu diseño con vistas de su silla desde 360 grados. Graben narración para el video en la que explican sus ideas (escriban un guión antes de grabar).
    • Hagan una animación cuadro por cuadro (stop motion), o con otro método, que muestra su silla. Podrían usar el software de stop motion en “Sprout” con su modelo de arcilla, o podrían usar una herramienta online que puede cargar su modelo digital (busquen aplicaciones como Animoto o Moovly).
    •  Presenten su diseño (acuérdense, 3 min máximo). Pidan críticas y consejos de la audiencia – ustedes no deben responder para defender su diseño, sino escucharles bien y considerar sus ideas.

Parte 4: Reflexionar Piensa con el proceso en el que acabas de participar. Escribe tus respuestas a las preguntas abajo, y después discute con la clase:

  • ¿Como era crear nuevas versiones de tu diseño muy rápidamente? ¿Por qué piensas que el proceso exige crear tantas versiones en poco tiempo?
  • ¿Qué cambiaste durante el proceso? ¿En qué medida incluiste las ideas de otras personas en tus cambios? ¿Qué aprendiste de tus prototipos?
  • ¿Hubo algún momento en el que te encontraste atascado? ¿Cómo te sentías? ¿Cómo lograste seguir adelante?
  •  Si hubo un desacuerdo en tu grupo sobre el diseño o la presentación, ¿Cómo lo resolvieron? ¿Cómo podrían hacerlo mejor en el futuro?
  • ¿Piensas que la audiencia de tu presentación entendió completamente tus ideas y diseños? Si no,
  • ¿Qué podrías haber hecho para mejorar su comprensión?

Adaptado de Five Chairs Exercise, Stanford d.School K12 Lab Wiki.

Produced by Digital Promise Global with the help of the Open Educational Resources used in this guide. Distributed to Learning Studios schools as part of HP, Inc. and Microsoft’s Reinvent the Classroom. A special thanks to Donovan Snyder for the Spanish translation.

This work is licensed under a Creative Commons Attribution-ShareAlike 4.0 International License . You can share this project or modified versions of it under this same license.

Sign Up For Updates! Email icon

Sign up for updates!

×