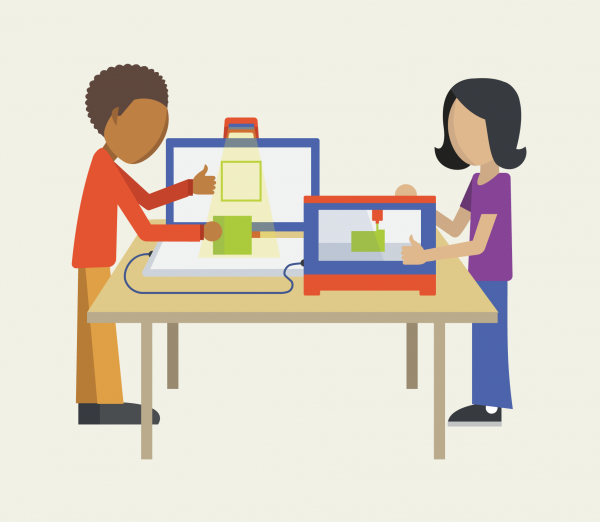
Tools/Materials Required: HP Sprout and Capture Stage, 3D Printer, paper, tape
Depth of Knowledge: Skills and Concepts
Teacher’s notes are in purple. For the student’s version, see Paper Boat Student Guide. For the student’s version in Spanish, see Barco de Papel.
Many three dimensional objects are made out of two dimensional materials –wood, sheet metal, fabric, even paper! Origami is an entire art form based on this idea of taking two dimensional paper and making an intricate three dimensional object.
Origami is a great technique for making things out of a simple and available material. But paper isn’t always very strong. What if we could design an object in paper, and then create a prototype of it in plastic using a 3D printer? Let’s give it a shot!
Complete the Custom Cookie Cutter project as an introduction to 3D printing and TinkerCAD skills.
Learn the art of paper-folding by using the Origami app on the HP Sprout. After you’ve learned some of the basics search online for more models you can fold, or try to create your own.
Practice 3D scanning by following this tutorial to make a paper vase. First, use paper and tape to make a cone that can be scanned. After scanning you will use the Mesh Mixer app on the HP Sprout or another computer to clean up imperfections from the scanning. 3D scanning is very cool and very useful, but it isn’t always perfect, so you will usually need to fix your model in the computer after scanning.
Make a paper boat! Actually, you can make anything that combines your new skills in Origami and 3D scanning. Will you make something useful? Or fun? Or decorative?
Produced by Digital Promise Global, with thanks to the Open Educational Resources listed throughout this guide. Distributed to Learning Studios schools as part of HP, Inc. and Microsoft’s Reinvent the Classroom.
This work is licensed under a Creative Commons Attribution-ShareAlike 4.0 International License. You may share this project or modified versions of it under this same license.